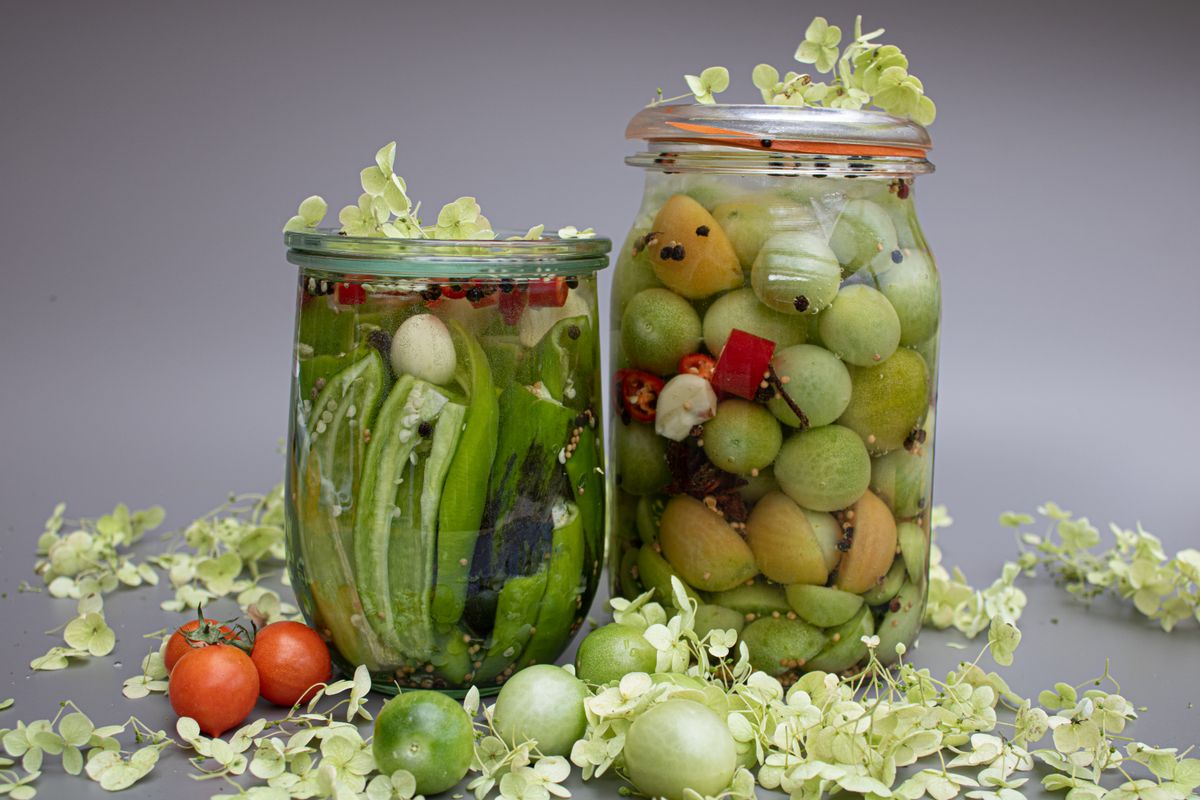
Lacto-Fermented Tomatoes
Tomatoes already start at pH 4.2. Fermentation finishes the job. Lycopene survives both — it is one of the most acid-stable carotenoids in the plant kingdom.
Chad Waldman
Analytical Chemist · April 19, 2026
Prep
15 min
Ferment
3–5 days
Total
5 days
Servings
1 quart jar
Salt
3% by weight
Tomatoes are unusual among fermentation candidates because they arrive pre-acidified. Fresh ripe tomatoes have a natural pH of 3.9–4.2. That starting point means two things: fermentation initiates faster than most vegetables (Lactobacillus has less acidification work to do), and you need a higher starting salt concentration to compensate for the high water content and rapid pace.
I use 3% brine here instead of the standard 2% to 2.5%. Tomatoes are 94% water. That internal water dilutes the brine as it migrates out of the cells during fermentation. Higher initial salt maintains antimicrobial selection pressure as the brine dilutes.
The lycopene angle is legitimate. Lycopene is a carotenoid — fat-soluble, red-pigmented, found almost exclusively in tomatoes at high concentration. It is one of the most acid-stable carotenoids studied. A 2018 study (PMID: 30223615) found that Lactobacillus plantarum and L. casei fermentation of tomato juice significantly increased antioxidant capacity (DPPH and ABTS inhibition) while preserving lycopene. The fermentation did not degrade it — it enhanced the overall antioxidant profile by liberating bound phenolics.
Fermentation time here is 3–5 days. Not 14. Tomatoes move fast. Intermediate difficulty rating reflects the speed and the need to watch it closely.
Lab Session
Lacto-Fermented Tomatoes — Full Process
Instructions
 1
1Select and pierce the tomatoes
Use cherry tomatoes, grape tomatoes, or small Roma tomatoes that fit whole in the jar. Avoid slicing — tomatoes that are cut open lose structural integrity quickly in brine and turn to mush within 2 days. Pierce each tomato once with a skewer or fork tine. This small hole allows brine to penetrate the skin and lactic acid to migrate out. Without it, fermentation happens only on the surface and the center stays raw.
Chemist’s note
Ripe but firm tomatoes are the target. Overripe tomatoes have already begun to break down their pectin internally — they will be mushy by day 2. Slightly underripe is acceptable. Overripe is not.
 2
2Make a 3% brine
Weigh 570g of filtered water. Calculate 3% — that is 17g of non-iodized salt. Dissolve completely. I use 3% here specifically because tomatoes are high-water-content vegetables: the internal juice dilutes the brine as it equilibrates across the tomato cell membrane. Starting at 3% gives you buffer. You will end up with an effective brine concentration closer to 2.5% by the time equilibrium is reached.
Chemist’s note
If you find the final product too salty, you started too high. Scale back to 2.7% on the next batch. If the ferment smelled off or moved too fast, bump up to 3.2%. Adjust by batch, not by recipe. This is the only batch-by-batch variable that matters.
 3
3Pack the jar with aromatics
Place garlic cloves, peppercorns, dill, and coriander seeds at the bottom of a clean quart jar. Add pierced tomatoes, packing them snugly but without crushing. Whole tomatoes are fragile once fermentation begins — pack them in one layer of solid stacking, not in a loose pile. If you are using Romas, stand them upright and pack them around each other like a puzzle.
Chemist’s note
Do not skip the aromatics. Fermented tomatoes without garlic and dill taste flat. The dill in particular works synergistically with the lactic acid to produce what I would describe as 'Eastern European brine' flavor — which is exactly what this is.
 4
4Submerge completely and seal
Pour brine over tomatoes. Here is the problem: tomatoes float. Their internal gas pockets make them positively buoyant. A fermentation weight is mandatory, not optional. Use a glass weight, a small jar filled with water, or a zip-lock bag filled with brine. Whatever you use must keep every tomato below the brine line. Any tomato above the brine surface will mold within 24 hours.
Chemist’s note
I use a wide zip-lock bag filled with extra brine as my weight for tomatoes — it conforms to the irregular surface of a jar full of round tomatoes better than a flat glass disk. Press it down firmly over the tomatoes and seal the jar.
 5
5Ferment 3–5 days — taste daily from day 2
Ferment at 68–72°F. Bubbles should appear within 24–36 hours — faster than most vegetable ferments because tomatoes start at pH 4.2. Taste daily starting on day 2. You are looking for a distinct sour note that complements the tomato flavor, not overwhelms it. pH should read 3.5–4.0 when done. The tomatoes will be slightly softer but should still hold their shape. At that point, refrigerate immediately — leaving them out longer risks over-acidification and complete texture loss.
Chemist’s note
Day 3 is usually the sweet spot for cherry tomatoes at 70°F. Day 4–5 for Roma-sized tomatoes or cooler kitchens. Refrigerate early if uncertain — you can always let them continue in the fridge (just very slowly) but you cannot un-acidify an over-fermented tomato.
The Science
L. plantarum and L. casei fermentation of tomato juice significantly increased ABTS and DPPH antioxidant inhibition values, total phenolic content, and preserved lycopene while improving volatile aroma profiles.
Foods, 2018 · PMID: 30223615 (opens in new tab)→
Lactic acid fermentation of tomato products is technically feasible with rapid pH reduction and good organoleptic properties; L. plantarum dominates and drives fermentation to completion within 3–5 days.
Foods, 2020 · PMID: 32764368 (opens in new tab)→
Fermentation of unripe tomatoes with Lactobacillus plantarum, Leuconostoc mesenteroides, and Kluyveromyces marxianus produced significant improvement in ascorbic acid content and antioxidant potential after 4 days.
LWT Food Sci Technol, 2021 · PMID: 34388265 (opens in new tab)→
Lacto-Fermented Tomatoes
Tomatoes already start at pH 4.2. Fermentation finishes the job. Lycopene survives both — it is one of the most acid-stable carotenoids in the plant kingdom.
15 min
Prep
3–5 days
Ferment
pH 3.5–4.0
Target
Ingredients
Equipment
- 1 quart wide-mouth mason jar
- Kitchen scale (0.1g precision)
- Fermentation weight
- Airlock lid or loosely fitted lid
- pH meter — critical, this ferment moves fast